Minute Beanie
Minute Beanie
Couldn't load pickup availability
PLEASE NOTE THAT THIS IS A PDF, NOT A READY KNITTED ITEM. DIGITAL PRODUCTS CANNOT BE RETURNED, AND WILL NOT BE REFUNDED.
ABOUT PATTERN
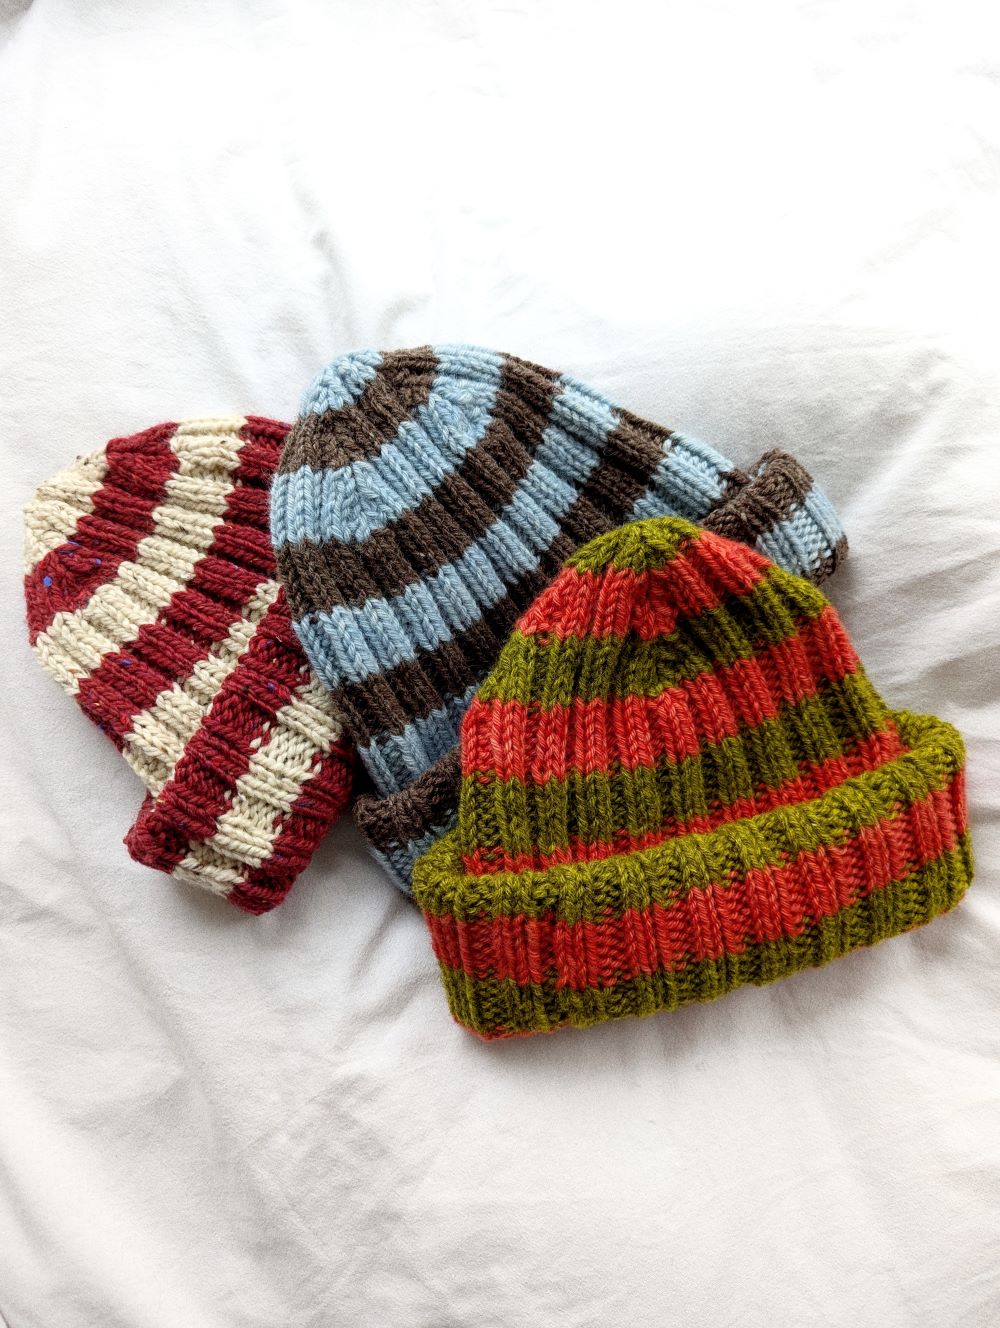
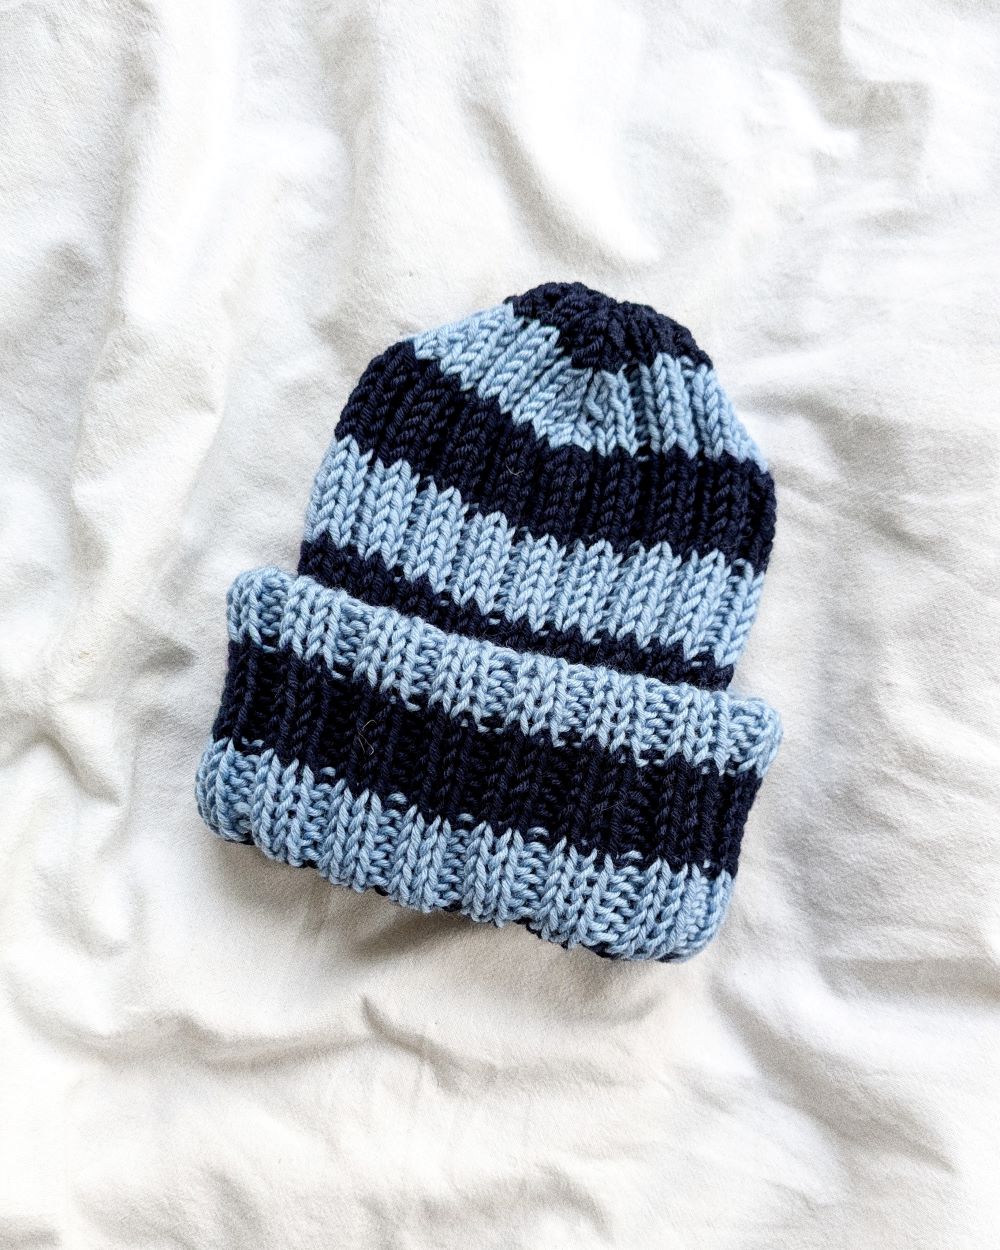
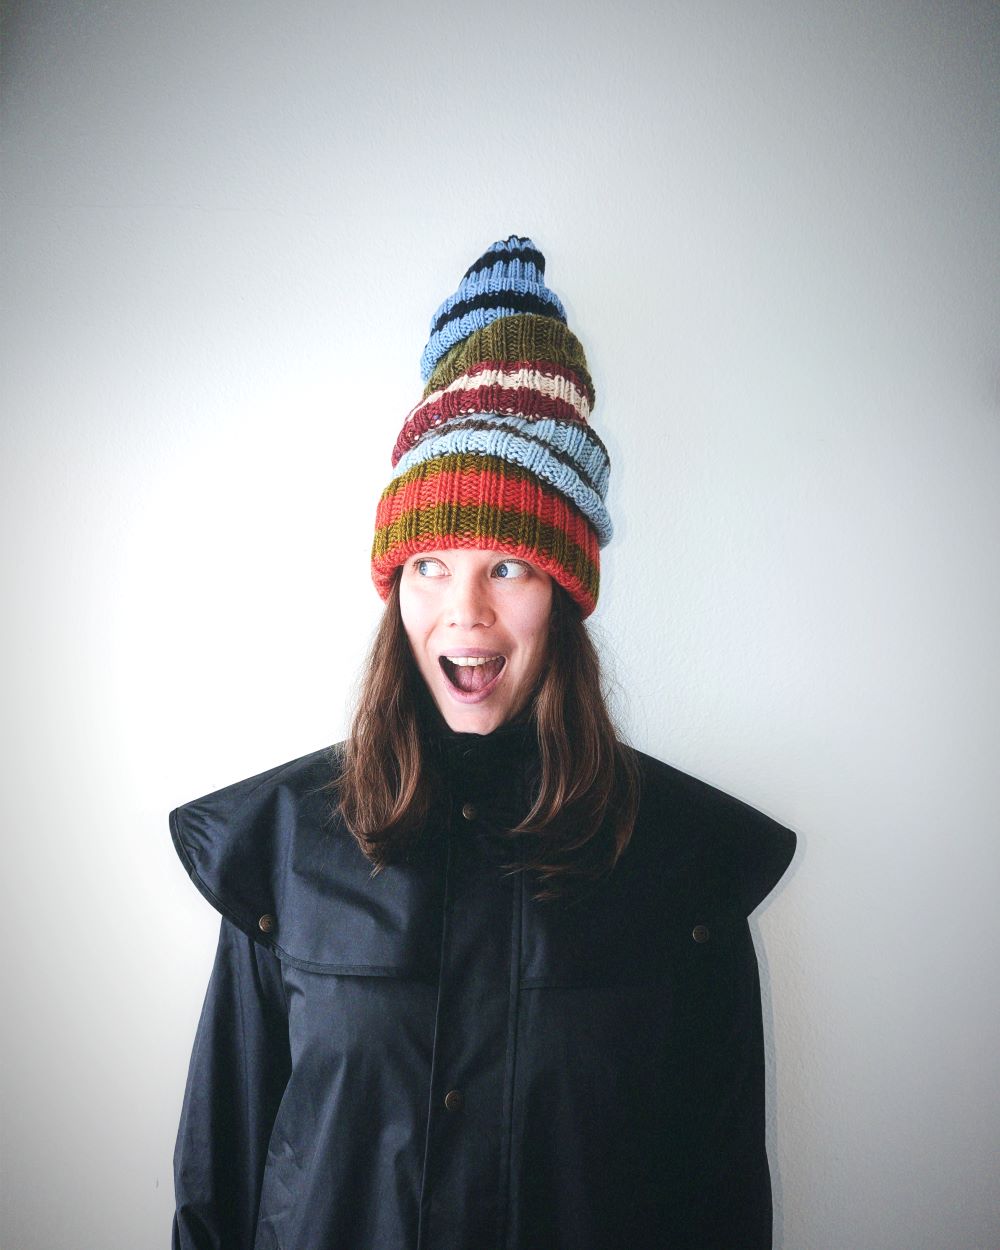
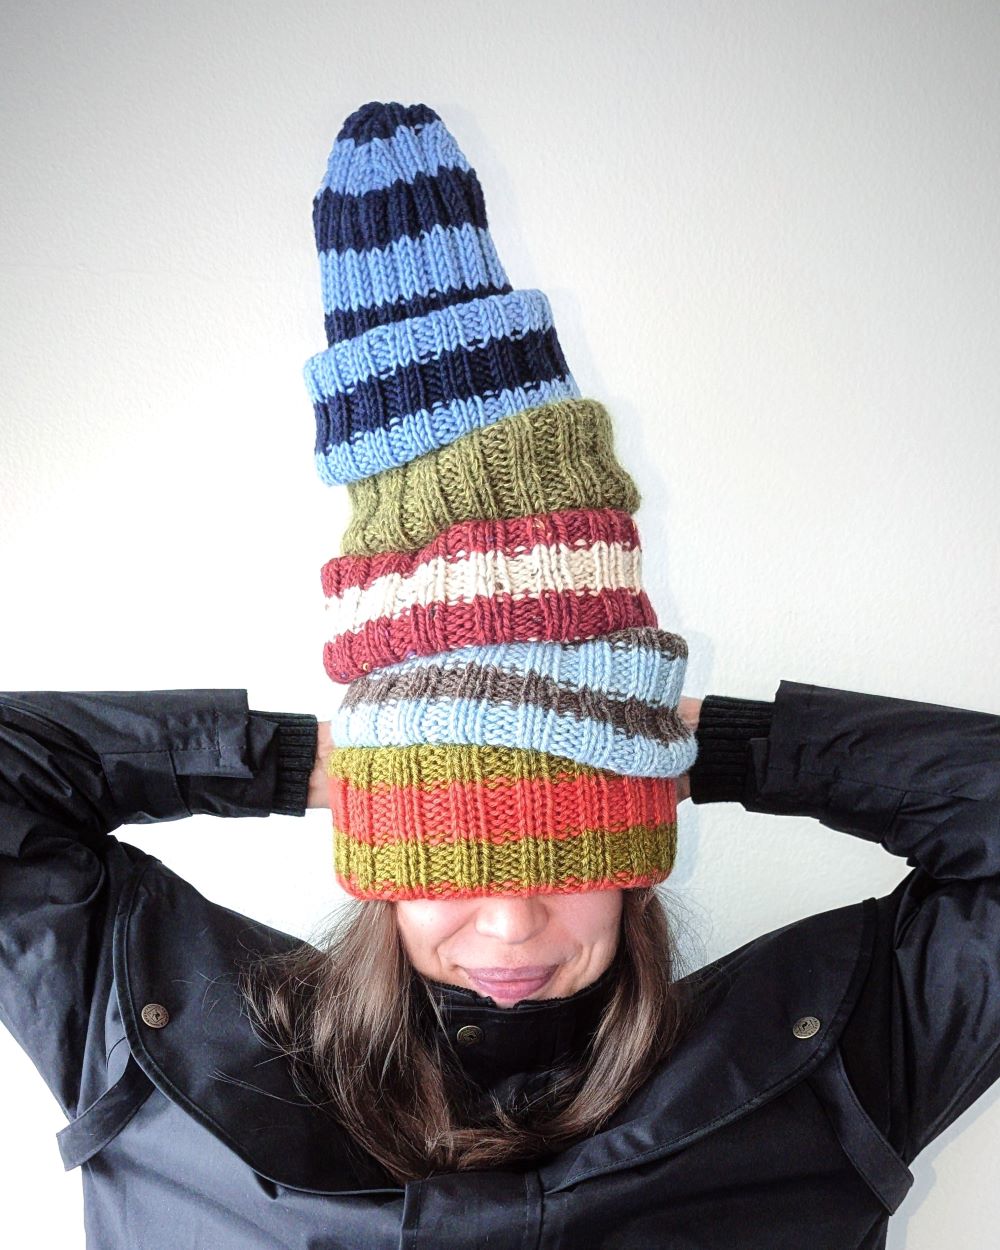
The striped and colorful Minute Beanie is worked from bottom up, in the round, in simple ribbing. The instructions are written for long circular needles and the magic loop technique. Short circular needles and double pointed needles can be used by those who prefer. This beanie knits up quickly on medium sized needles, and can be worn in many ways depending on how the brim is rolled. This pattern will instruct you to make the coziest winter beanie with fun-factor, regardless of your skill level!
Level of difficulty: Beginner
SIZES
Adult: 1 (2)
Note: If you would like to make this beanie in a kid's size, the pattern will give you modification tips for that as you go along.
SIZE GUIDE
The beanie is very stretchy thanks to the nature of the 2x2 rib texture. It’s suggested to be worn with a slight negative ease to ensure the best fit.
The sizes are intended for head circumference of 53-57 (58-61) cm [21-22.5 (23-24) in].
The negative ease is included in the stitch counts, so when choosing which size to knit, simply refer to your actual head circumference. If you fall right between the two sizes, size up or down according to your own preference.
SUGGESTED YARN
Approx. 150 (150) g of Aran weight yarn,
9-10 WPI
For each color separately you will need approx. 75 (75) g.
This is a great project to use up leftovers from your stash. If you don’t have Aran weight yarn, you can also use Worsted weight yarn held together with a strand of mohair or other Lace weight yarn, or two strands of DK weight yarn held together. Anything that gives you the correct gauge can be used.
You can make combinations by using the WPI (=wraps per inch) measuring system.
Note: If you are making a kid’s size, you will need less than 100 g in total.
GAUGE
16 sts in 10 cm [4 in]
Worked in 2x2 ribbing, measured after blocking.
SUGGESTED NEEDLES
5 mm / 100 cm [US 8 / 40 in] circular needles for the magic loop technique
Change the needle size if needed to match the given gauge.
Note: If you don’t like the magic loop technique, you can work the beanie on a shorter, 40 cm [16 in] cable, and switch to DPNs (=double pointed needles) when working the decreases at the end.
ADDITIONAL
- Stitch markers
- Tapestry needle
WORKFLOW
You will cast on for the edge, and work in 2x2 ribbing to the desired length.
The rest of the beanie is worked by decreasing towards the crown.
To finish off, weave in the ends in the least visible way, and block the beanie with your
preferred blocking method to relax the ribbing, and even out any inconsistencies in
the tension.
Enjoy this pattern and happy knitting!
Share


